
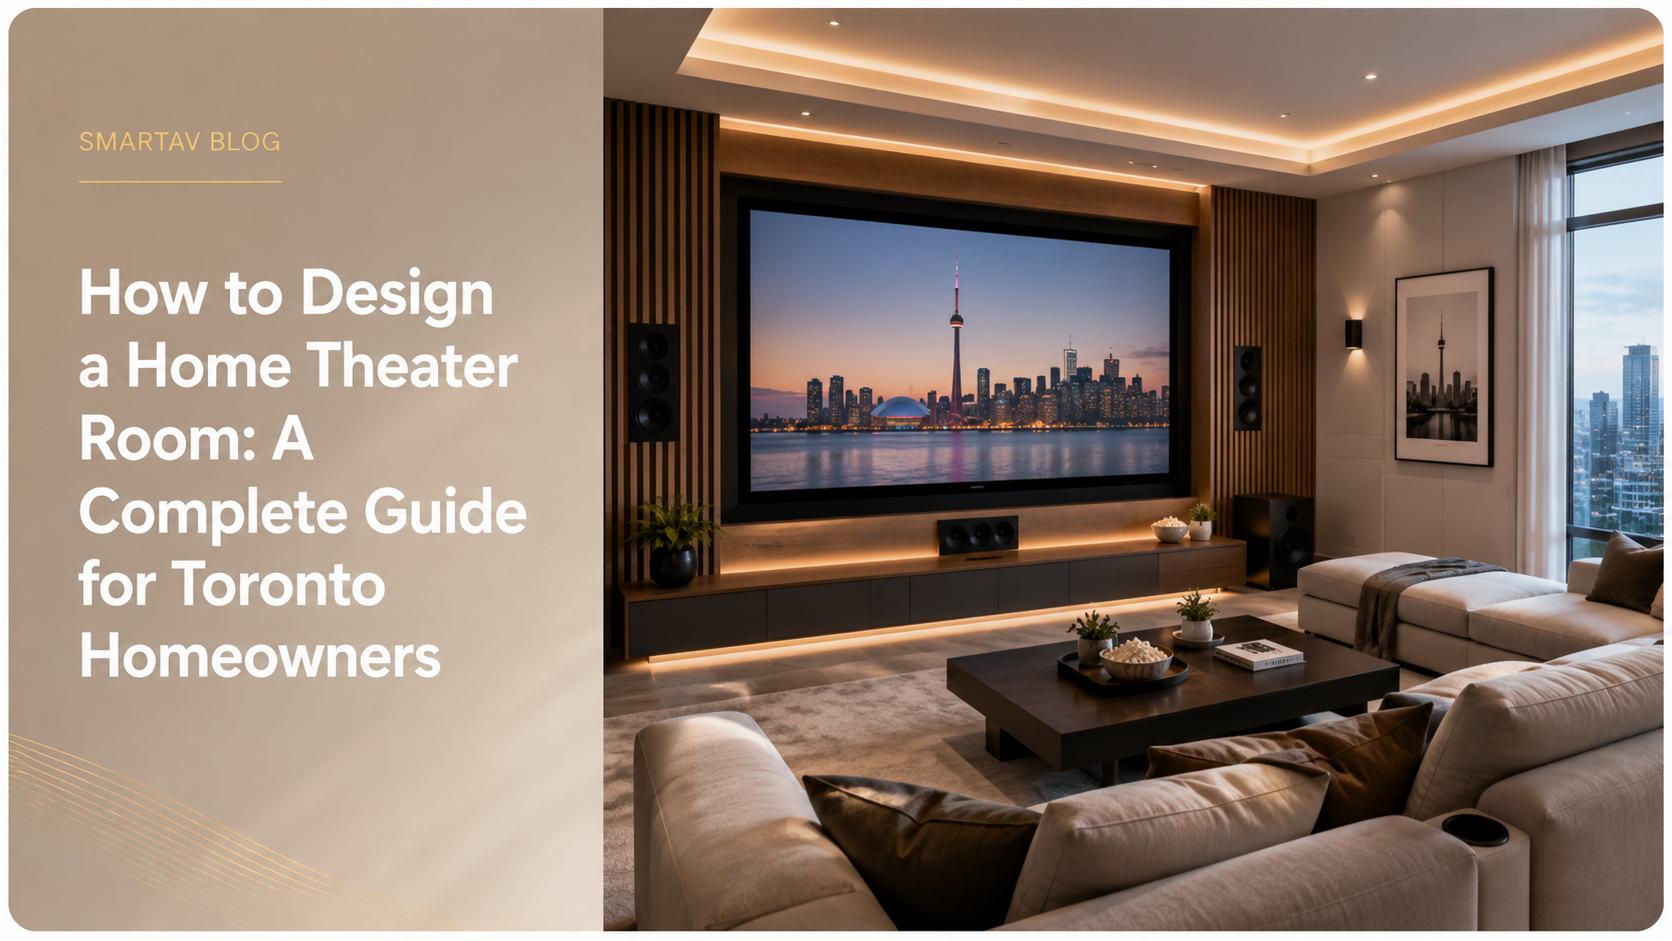
A great home theater isn’t a bigger TV in a darker room — it’s a space designed from the ground up around acoustics, sightlines, and light control, with automation tying it all together into a single “movie night” experience. This guide walks through the seven decisions that actually determine whether a home theater performs like a real cinema or just feels like a living room with the lights off.
Step 1: Choosing and Sizing the Room
The single biggest factor in home theater performance isn’t equipment — it’s the room itself. A dedicated space with no windows, minimal doors, and a regular rectangular shape gives an installer far more control over acoustics and light than an open-concept basement corner.
Room dimensions matter more than most homeowners expect. A room that’s roughly 1.4 to 1.9 times as long as it is wide tends to produce more even bass response than a square room, which is prone to standing waves that make certain frequencies boom while others disappear. For a serious dedicated theater, aim for a minimum of roughly 12 x 16 feet — smaller rooms can absolutely work, but the design has to compensate more carefully for the reduced space.
Basements are the most common location for GTA home theaters, and for good reason: they’re naturally darker, better isolated from the rest of the house acoustically, and often available as unfinished space where acoustic treatment can be built in from the studs rather than retrofitted.
| Room Size | Realistic Setup | Notes |
|---|---|---|
| Under 150 sq ft | Single-row seating, 2.1 or 5.1 audio | Compact but genuinely effective if treated properly |
| 150–250 sq ft | Single or two-row seating, 5.1.2 Atmos | The sweet spot for most GTA basement theaters |
| 250–400 sq ft | Two to three tiered rows, 7.1.4 Atmos | Supports a full cinema-style layout with proper risers |
| 400+ sq ft | Multi-row, custom acoustic design | Estate-level dedicated cinemas |
Step 2: Acoustic Treatment Fundamentals
Acoustic treatment is the difference between a room that sounds like a finished theater and one that sounds like a finished basement with speakers in it. Three concepts drive most of the design:
First Reflections, Bass Trapping, and Diffusion
First reflections are the sound waves that bounce off walls, ceiling, and floor before reaching your ears — arriving a few milliseconds after the direct sound and smearing clarity, particularly on dialogue. Absorptive panels placed at the specific reflection points beside and above the main seating position clean this up significantly.
Bass trapping addresses the low-frequency buildup that happens in room corners, where bass energy accumulates and creates uneven, boomy low end. Corner-mounted bass traps — thick absorptive panels spanning floor to ceiling — are one of the highest-impact acoustic upgrades available for a dedicated theater room.
Diffusion scatters sound rather than absorbing it, typically used on rear walls to maintain a sense of spaciousness without deadening the room entirely. A theater treated only with absorption can sound flat and lifeless; diffusion on key surfaces keeps the space feeling alive.
Step 3: Projector vs. Large-Format TV
This is usually the first equipment decision homeowners make, and it deserves more thought than screen size alone. A 4K laser projector delivers a genuinely cinematic scale — 100+ inch images — at a lower cost per inch than an equivalent large-format TV, but it requires a dark, controlled room to look its best. A large-format TV delivers higher peak brightness and works better in rooms with some ambient light, at the cost of a smaller maximum practical size before cost escalates sharply.
→ Related: For a full breakdown of this decision, see 4K Laser Projector vs Large Format TV: Which Is Best for Your Home Theater?
Step 4: Audio System Design (Dolby Atmos Explained)
Dolby Atmos adds height channels to traditional surround sound, placing speakers in or near the ceiling to create sound that moves overhead — rain, aircraft flyovers, and ambient environmental effects that traditional surround sound can’t reproduce. A properly designed Atmos system uses a minimum of two height channels (a 5.1.2 configuration) up through more elaborate 7.1.4 setups for larger rooms, paired with an AV receiver or processor capable of decoding object-based Atmos audio.
Speaker placement matters as much as speaker count. In-ceiling Atmos speakers, positioned according to Dolby’s published placement guidelines, consistently outperform “upward-firing” speaker modules that bounce sound off the ceiling — a compromise solution for rooms where true in-ceiling installation isn’t possible.
Beyond speaker layout, the AV receiver or processor driving the system needs enough amplified channels to power every speaker in the configuration, along with Dolby Atmos and DTS:X decoding support. For larger 7.1.4 systems, a separate multi-channel amplifier is often paired with a dedicated processor rather than relying on a single all-in-one receiver, which typically can’t provide enough clean power across nine or more channels simultaneously. Getting this pairing right — enough power, properly matched to the room’s speaker impedance and size — is one of the areas where a professional AV designer earns their fee versus a DIY approach based on manufacturer spec sheets alone.
→ Related: Get the full Atmos speaker layout breakdown in Dolby Atmos Home Theater: What It Is and How to Get It Right
Step 5: Seating Layout and Sight Lines
Seating design in a dedicated theater follows different rules than a living room sectional. Rows should be tiered — each row elevated enough that the seating in front doesn’t block sightlines to the lower portion of the screen — and positioned within the screen’s optimal viewing distance range, typically 1.5 to 2.5 times the screen’s diagonal size for a projector-based system.
For multi-row theaters, the front row’s distance from the screen and the riser height between rows are the two measurements worth getting right before any furniture is ordered — both are expensive to fix after installation and easy to get right with proper planning beforehand.
Step 6: Lighting Design for Cinema Rooms
Theater lighting has to do two contradictory things well: provide genuinely usable light for finding seats and reading a remote, and disappear completely once a movie starts. This is achieved through low-level, warm-toned accent lighting — often LED step lights or cove lighting — kept well below the brightness of general room lighting, combined with full-room dimming controlled from the same system that starts the movie.
→ Related: See how integrated lighting design works across a whole home in Smart Lighting Automation: Complete Buyer’s Guide for Toronto Homes
Step 7: Automation Integration (One-Touch Scenes)
The final piece that separates a genuinely great theater from a collection of good equipment is automation. A properly integrated “Movie Night” scene handles everything simultaneously: dimming or extinguishing room lighting, closing any light-blocking shades, powering on the projector or display, switching the AV receiver to the correct input, and dropping a motorized screen if one is installed — all from a single button press or app tap rather than a sequence of separate remote controls.
SmartAV note: The single most common complaint we hear about pre-existing home theaters isn’t the picture or sound quality — it’s frustration with juggling three or four remotes to get the room ready. A well-programmed one-touch scene solves this permanently, and it’s one of the highest-satisfaction upgrades we install.
→ Related: See how Control4 handles home theater automation specifically in Control4 Smart Home Review: Pros, Cons, and Real-World Performance
Common Mistakes That Undermine a Home Theater
A few recurring issues account for most of the “this doesn’t feel like a real theater” disappointment we see in poorly planned rooms:
Skipping acoustic treatment entirely. Even a modest acoustic treatment package — first-reflection panels and corner bass traps — makes a bigger audible difference than upgrading from a good AV receiver to a slightly better one. Homeowners who spend heavily on electronics but skip room treatment consistently get less performance for their money than the reverse.
Choosing screen size before confirming seating distance. A screen that’s too large for the room’s seating distance forces constant eye movement and can cause fatigue during longer viewing; too small, and the immersive scale that makes a home theater feel different from a living room TV gets lost. Confirm seating distance before finalizing screen size, not after.
Treating lighting as an afterthought. Rooms with only a single overhead fixture on a basic dimmer struggle to deliver usable light for navigation without spilling onto the screen. Purpose-designed low-level accent lighting, on its own dimmable circuit, solves this from the start rather than requiring a retrofit later.
Underestimating cable and equipment infrastructure. A theater with a receiver, streaming devices, a gaming console, and a projector needs proper equipment housing with ventilation and cable management — not a tangle of components stacked in a media cabinet with no airflow, which shortens equipment lifespan and complicates future service.
How SmartAV Approaches Theater Design
SmartAV designs home theaters as a complete system rather than a collection of separate purchases — acoustic treatment, display selection, audio design, seating layout, lighting, and automation all planned together from the initial consultation. This integrated approach is what actually produces the “how did they get it to feel like a real cinema” result homeowners are looking for, rather than a room that has good individual components that don’t quite come together.
Frequently Asked Questions
Do I need a fully dedicated room, or can a media room work?
A dedicated room with full acoustic treatment and light control will always outperform a multi-purpose media room, but a well-designed media room can still deliver a strong experience — the key trade-offs are acoustic treatment (harder to add to a room with other furniture and open sightlines) and light control (harder in a room with windows or open sightlines to other living spaces).
How much does acoustic treatment typically cost?
Acoustic treatment costs vary widely based on room size and treatment level, from a few thousand dollars for basic first-reflection and bass-trapping panels to significantly more for a fully treated room with custom fabric-wrapped panels integrated into the room’s design. Your integrator can provide a specific quote based on room dimensions and construction.
Is a projector or TV better for a dedicated theater room?
For a fully dark, dedicated room, a 4K laser projector generally delivers a more cinematic experience at a lower cost per inch of screen size. For a room with any ambient light or multi-purpose use, a large-format TV’s higher brightness makes it the more practical choice.
How many speakers does a proper Dolby Atmos setup need?
A minimum Atmos configuration uses 5.1.2 (five surround speakers, a subwoofer, and two height channels), though 7.1.4 configurations are common in larger dedicated rooms for a more immersive effect. Room size and seating layout determine the right configuration for a specific space.
Can automation be added to an existing home theater?
Yes — most existing AV equipment can be integrated into a Control4 or Crestron automation system without full replacement, allowing homeowners to add one-touch scene control to a theater that already has a projector or TV, receiver, and speakers in place.
Book a Home Theater Consultation
SmartAV designs and builds home theaters across Toronto and the GTA, from acoustic treatment through full automation integration.
Book a home theater consultation →
📞 (416) 904-0504