
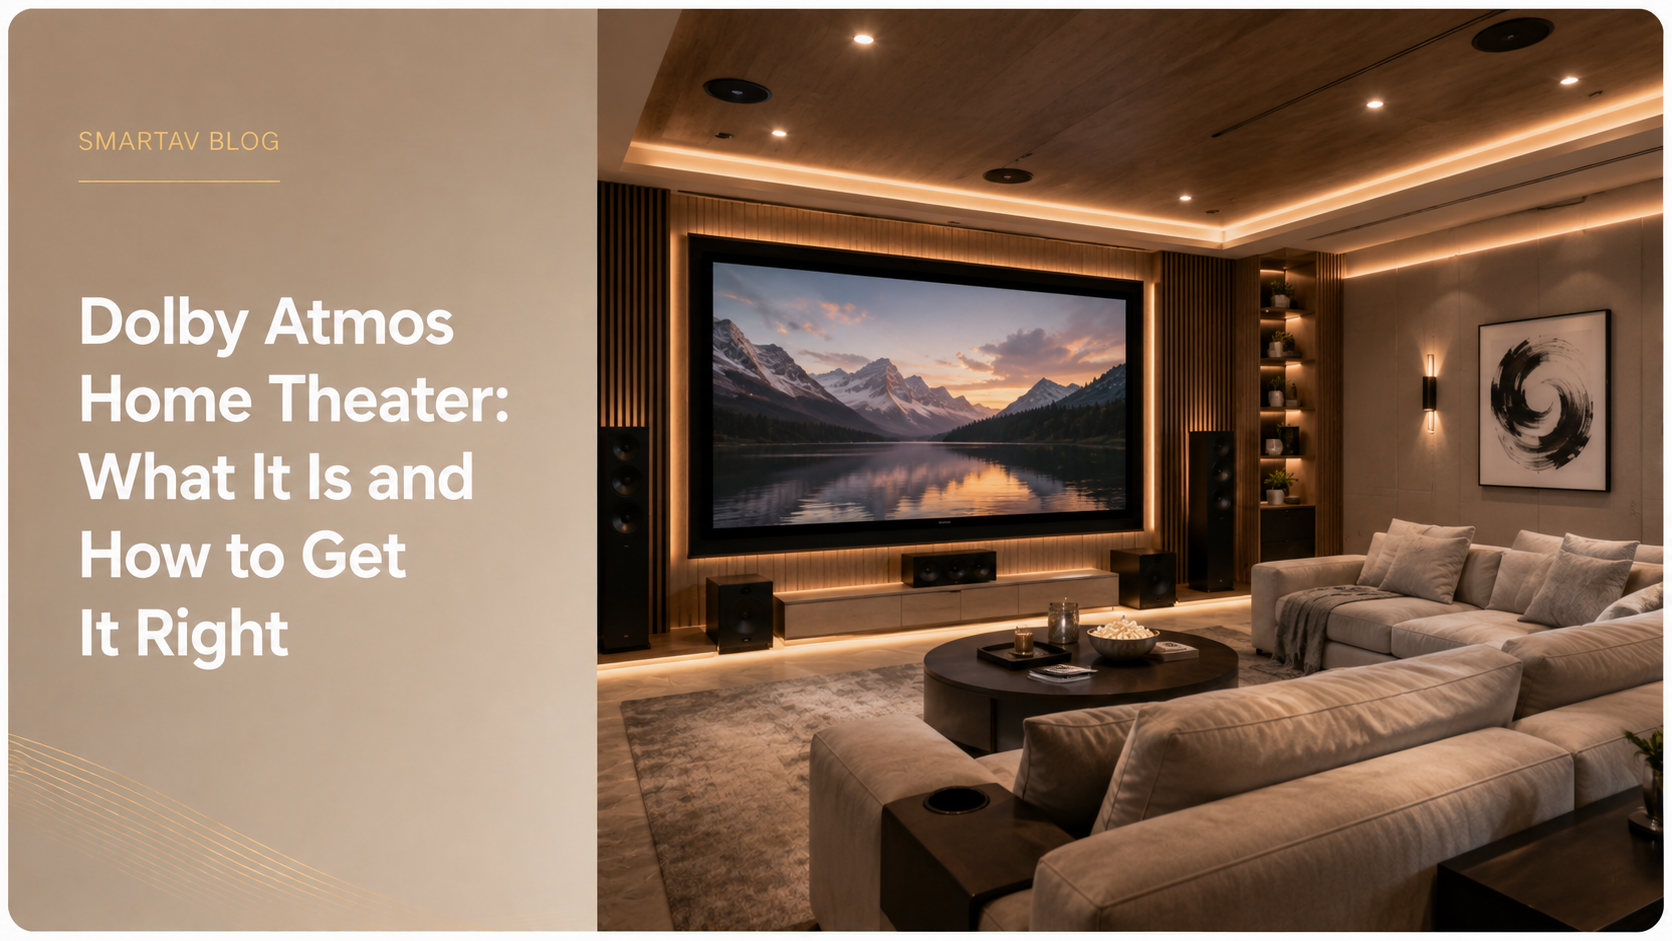
Dolby Atmos is the biggest shift in home audio in the past decade, but it’s also one of the most commonly misunderstood — and improperly installed — home theater upgrades. Getting it right is less about spending more on speakers and more about getting placement, room layout, and processing correct from the start.
What Dolby Atmos Actually Does
Traditional surround sound places speakers around a room at ear level, creating a horizontal field of sound. Dolby Atmos adds a vertical dimension by introducing height channels — speakers positioned in or near the ceiling — that reproduce sound designed to move overhead: rain, aircraft, explosions, and ambient environmental effects that traditional 5.1 or 7.1 surround simply can’t place correctly.
The technical distinction that makes this possible is that Atmos is object-based rather than channel-based. Traditional surround formats assign audio to fixed channels (front left, rear right, and so on); Atmos assigns audio to specific objects in three-dimensional space, and the receiver or processor calculates in real time how to render that object across whatever speaker configuration is actually present in the room. This is why Atmos content scales cleanly from a modest 5.1.2 setup to an elaborate 9.1.6 configuration — the same source material adapts to the speakers available.
In practical terms, this means a well-mixed Atmos soundtrack isn’t just “more speakers” — it’s audio that was designed with genuine spatial positioning in mind. A helicopter passing overhead in an Atmos mix moves smoothly from front to back and side to side using height information the mix engineer specifically placed there, rather than being approximated by splitting the sound across the nearest available channels the way older surround formats would have handled it.
Atmos Speaker Layouts: 5.1.2 vs. 7.1.4
Atmos configurations are described in three numbers: traditional speakers, subwoofers, and height channels.
5.1.2 is the entry point for a genuine Atmos experience — five traditional surround speakers, one subwoofer, and two height channels. This configuration works well in smaller and mid-size rooms and delivers a noticeably more immersive experience than traditional 5.1 surround, even with only two height channels.
7.1.4 adds two additional traditional surround speakers and two more height channels, providing more precise overhead imaging and better coverage for larger rooms or multi-row seating layouts. This is the most common configuration for serious dedicated theaters in the 200–400 sq ft range.
Larger configurations — 9.1.6 and beyond — exist for very large or acoustically complex rooms, but for the large majority of GTA home theaters, 7.1.4 represents the practical ceiling where additional speakers stop delivering meaningfully noticeable improvement relative to their cost.
| Configuration | Speakers | Best Room Size | Typical Use Case |
|---|---|---|---|
| 5.1.2 | 5 surround + 2 height | Under 200 sq ft | Single-row, budget-conscious theaters |
| 7.1.4 | 7 surround + 4 height | 200–400 sq ft | Multi-row dedicated theaters |
| 9.1.6 | 9 surround + 6 height | 400+ sq ft | Large or acoustically complex rooms |
→ Related: See how speaker layout fits into the full theater design process in How to Design a Home Theater Room: A Complete Guide for Toronto Homeowners
In-Ceiling Speakers vs. Overhead-Bouncing Speakers
This is where a significant number of DIY and budget Atmos installations go wrong. There are two ways to create height channels:
True in-ceiling speakers, installed according to Dolby’s published placement specifications, deliver the most accurate and consistent overhead imaging. This is the approach professional installers use whenever the room and ceiling structure allow for it, and it’s the standard for any theater built from the ground up.
Upward-firing “Atmos-enabled” speaker modules sit on top of or integrated into standard floor-standing or bookshelf speakers, firing sound upward to bounce off the ceiling and simulate a height channel. This is a legitimate compromise for rooms where running wiring to the ceiling isn’t practical — finished basements with no access above, for instance — but the resulting height effect is less precise and more dependent on ceiling height and material than true in-ceiling speakers.
SmartAV note: We install true in-ceiling Atmos speakers whenever the room allows it — the difference in overhead imaging accuracy is significant, and it’s one of the areas where cutting corners is most audible to anyone who’s experienced a properly done installation.
Atmos-Compatible Receivers and Processors
Every component in an Atmos system’s signal chain needs to support object-based audio decoding — the source (a 4K Blu-ray player or a streaming device outputting Atmos-encoded content), the AV receiver or separate processor, and enough amplified channels to power every speaker in the configuration.
For 5.1.2 and most 7.1.4 systems, a single high-quality AV receiver with enough built-in amplifier channels is usually sufficient. For larger configurations, or rooms requiring more amplifier power than a receiver can cleanly deliver, a separate processor paired with a multi-channel amplifier is the more reliable approach — this is a design decision worth discussing with an integrator rather than assuming a single receiver will handle everything at any configuration size.
Room Size Requirements
Atmos performs best in rooms with adequate ceiling height — a minimum of roughly 7.5 to 8 feet is generally recommended for in-ceiling height channels to image correctly, since speakers mounted too close to the listening position can make overhead effects feel localized rather than diffuse. Rooms with sloped or irregular ceilings require more careful speaker placement planning, sometimes with adjusted angles or additional height channels to compensate for asymmetry.
Room width and seating layout also affect which configuration makes sense — a 5.1.2 setup in a narrow single-row room can outperform an under-optimized 7.1.4 system crammed into a space too small to properly separate the additional channels.
Common Mistakes in Atmos Setups
Mismatched speaker brands and models across channels. Timbre matching — using speakers from the same product line, or at minimum similar drivers and voicing — across the front, surround, and height channels produces a more seamless, consistent soundstage than mixing unrelated speaker lines.
Underpowered amplification. Atmos systems with many channels demand more total amplifier power than traditional surround setups; a receiver that’s technically compatible but underpowered for the room size and speaker sensitivity will produce a flat, unconvincing result even with correct speaker placement.
Ignoring room acoustic treatment. Atmos speaker placement can be flawless and still underperform in an untreated room — first reflections and bass buildup affect height channels just as much as traditional surround channels, and skipping treatment undermines the investment in the speaker system itself.
Skipping calibration. Every Atmos system should be calibrated using the receiver’s built-in room correction system (or ideally, a professional calibration) after installation — speaker distances, levels, and crossover points all need to be tuned to the specific room, not left at default settings.
Frequently Asked Questions
Do I need a dedicated theater room for Dolby Atmos?
No — Atmos can be installed in a living room or media room setup, though a dedicated, acoustically treated room will always deliver a more accurate and immersive result. Overhead speaker placement matters more than room dedication specifically.
Can I add Atmos to an existing surround sound system?
In many cases, yes — if your existing receiver supports Atmos decoding and has enough amplifier channels or pre-outs for additional speakers, height channels can be added without replacing the whole system. Older receivers without Atmos decoding will need to be upgraded.
Is 5.1.2 worth it, or should I go straight to 7.1.4?
For smaller and mid-size rooms, 5.1.2 delivers a genuinely immersive Atmos experience and is often the more cost-effective choice. 7.1.4 makes the most sense in larger rooms or multi-row seating layouts where the additional channels provide meaningfully better coverage.
Do streaming services support Dolby Atmos?
Most major streaming platforms now offer Atmos-encoded content on supported titles, though availability and audio quality vary by service and specific title. A 4K Blu-ray remains the most consistent source for reference-quality Atmos audio.
How much does a proper Dolby Atmos upgrade cost?
Costs vary by configuration and room complexity — a 5.1.2 upgrade to an existing surround system typically costs less than a full 7.1.4 build-out with in-ceiling speakers and a new receiver or processor. Because Atmos is usually part of a broader home theater project, it’s most accurately quoted alongside the rest of the room’s design rather than as a standalone line item.
Design Your Atmos Theater With SmartAV
SmartAV designs and installs properly calibrated Dolby Atmos systems across Toronto and the GTA, from 5.1.2 upgrades to full 7.1.4 dedicated theaters.
📞 (416) 904-0504